Sandbox
Sandbox makes testing energy apps simple and effective by providing instant access to virtual devices of any kind. This guide explains Sandbox’s core features and how to use it to simulate real-world scenarios during application development.
Copy linkWhat is Sandbox?
Sandbox is a virtual environment for your energy apps. Instead of connecting to real devices, you can use virtual ones that you control instantly.
Copy linkKey features
- Supports all asset types – Create and control vehicles, chargers, batteries, and more
- Instant state control – Modify asset states to test any real-world condition
- Webhook integration – Observe live updates directly in the Sandbox UI
- Virtual accounts – Simulate vendor accounts and user scenarios with multiple devices
- Intervention testing – Test error and edge-case scenarios safely
Copy linkWhy Sandbox?
Developing for energy devices can be challenging due to:
- Limited access to physical devices for testing
- Dependence on third-party hardware outside your control
- Long waiting times for specific device states
- Complex scenarios, such as users with multiple devices per vendor
Sandbox solves these challenges, enabling faster, lower-cost, and more reliable development.
Copy linkQuick start
You can start working with assets in two ways:
- Create a virtual account with one or more devices and link it to a user
- Create an asset directly and let Sandbox automatically create and link a virtual account for you
Copy linkVirtual accounts
Virtual accounts represent a user’s OEM account in Sandbox. They let you recreate real-world setups, for example a user owning several devices per vendor, and let you test every stage of the linking process.
You can:
- Create accounts with one or more devices across asset types (e.g. vehicles, batteries, etc)
- Link accounts automatically or via LinkUI to test the full linking flow
- Add or remove devices after linking to simulate real-world API behavior
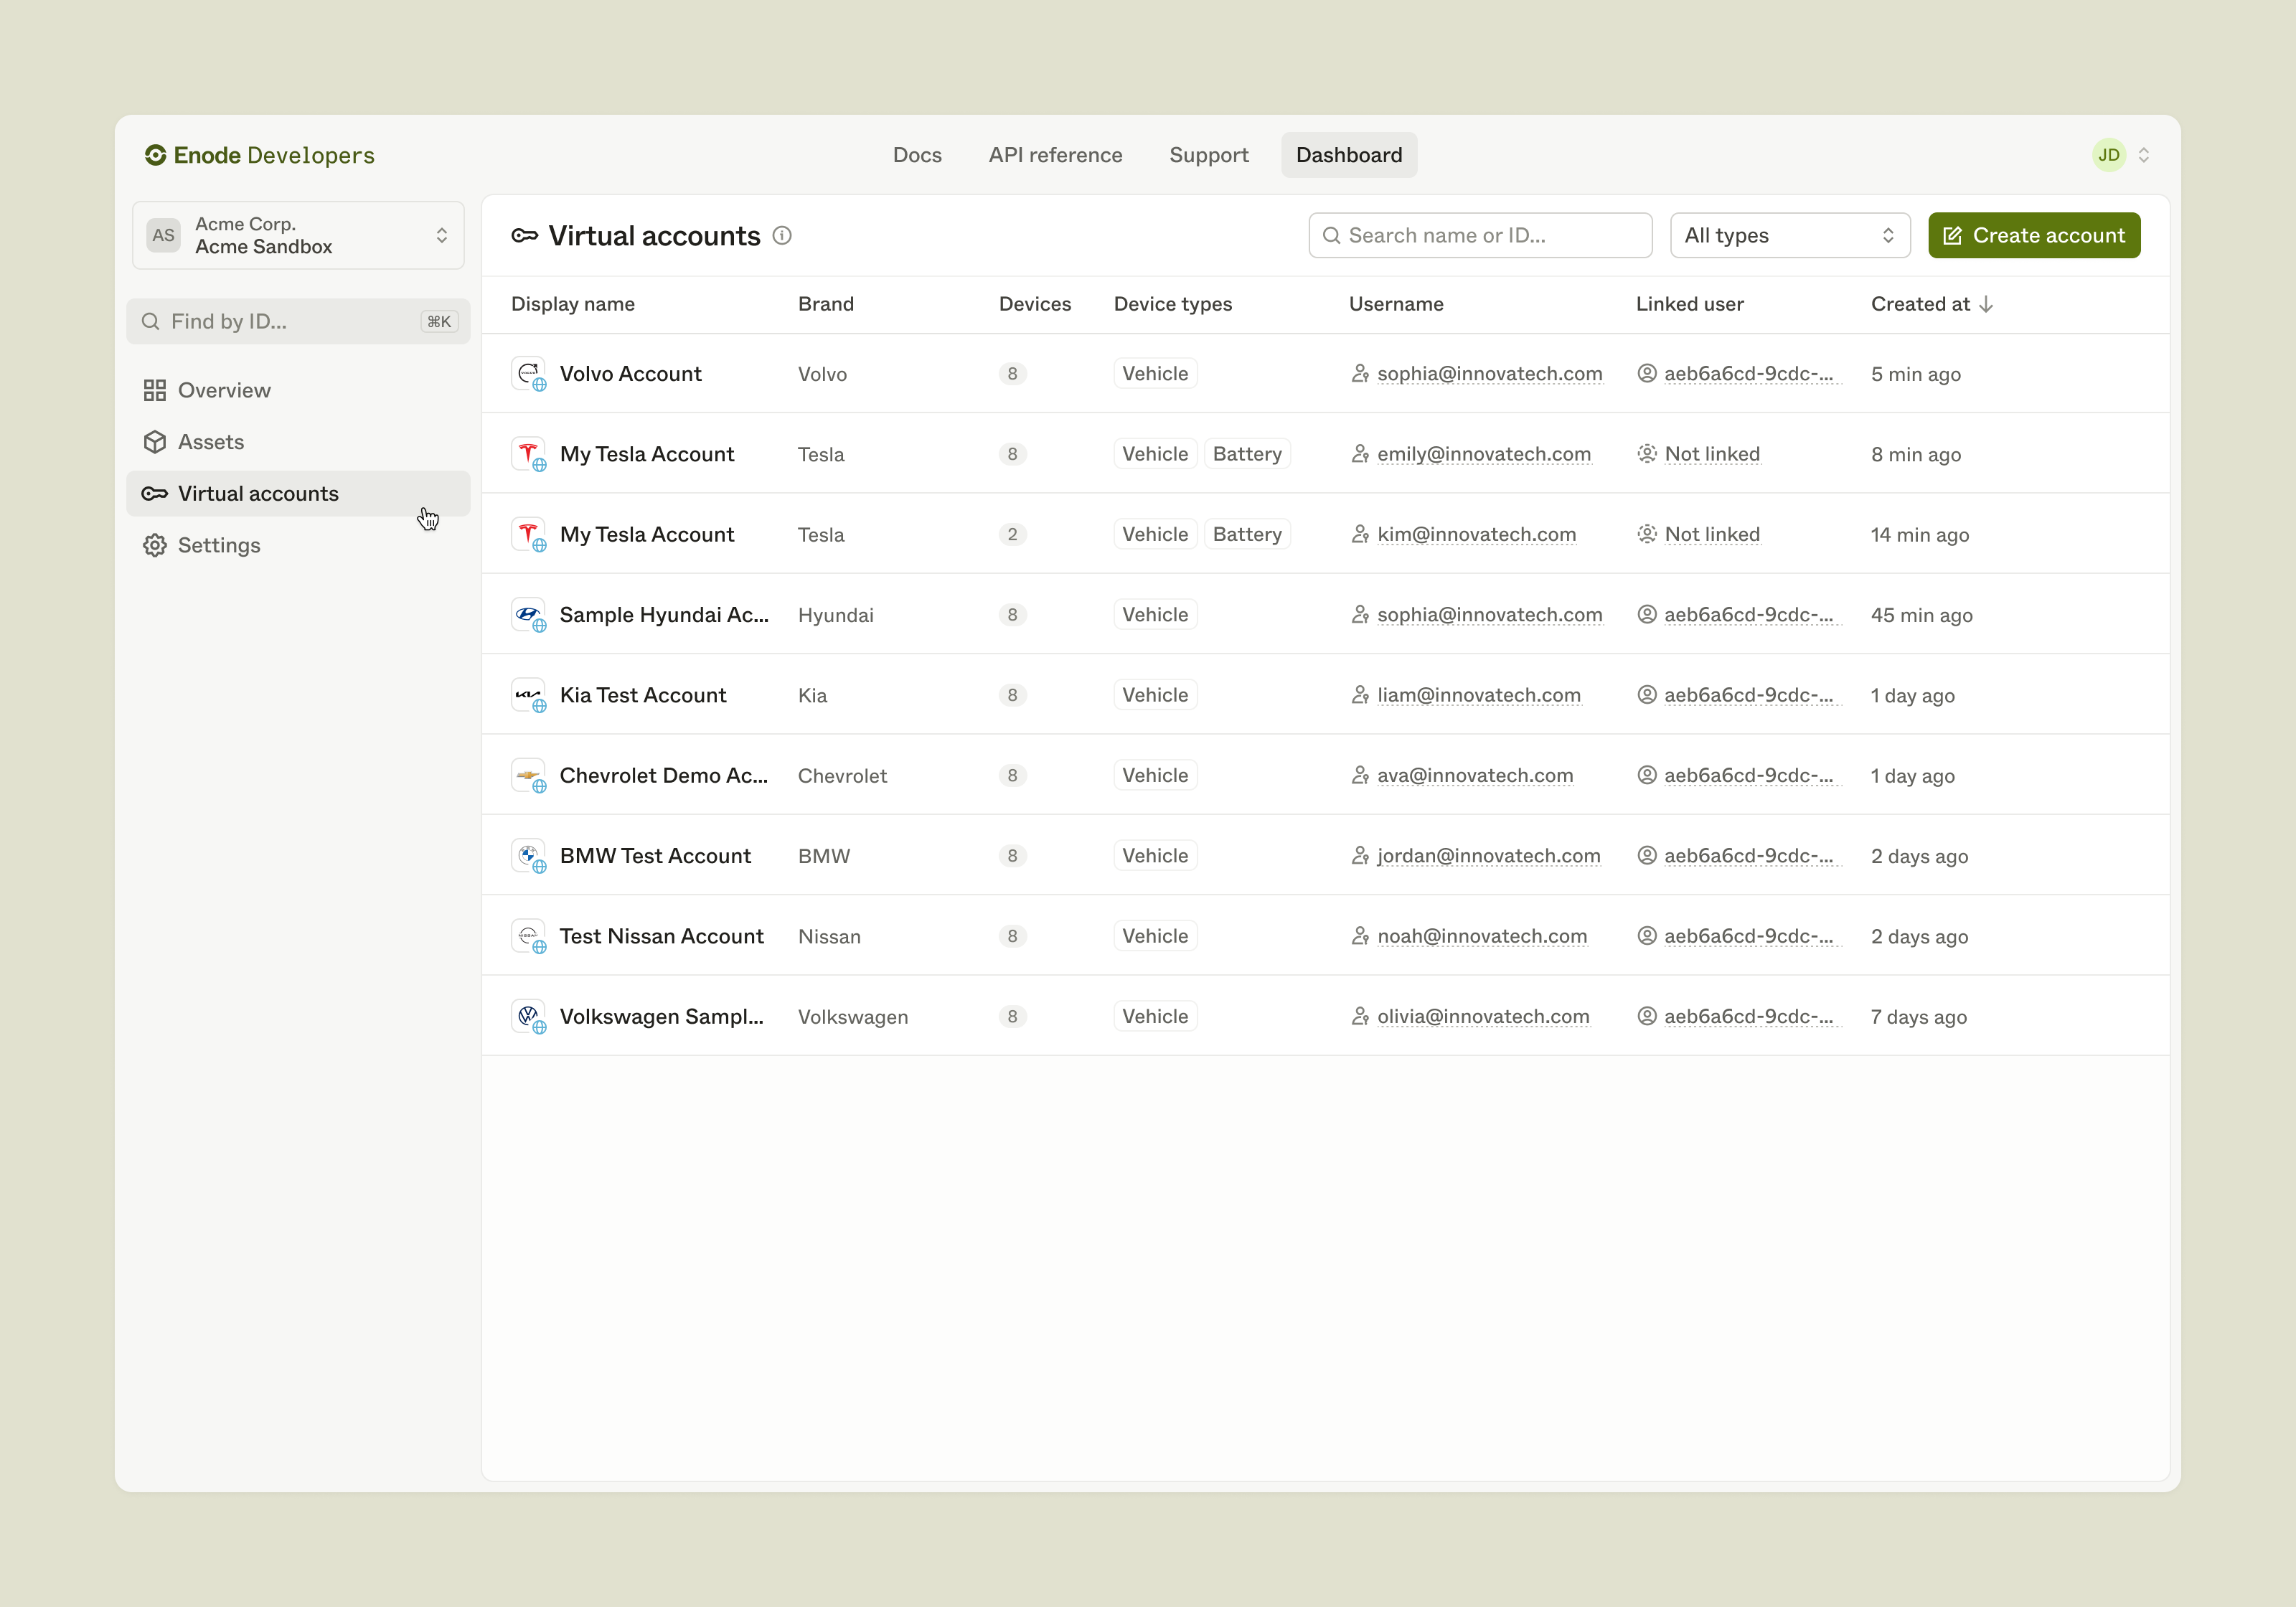
Copy linkVirtual accounts list
To create and manage virtual accounts, go to your Sandbox client in the customer dashboard and select Virtual accounts from the left-hand menu.
The list shows all virtual accounts in your Sandbox client. You can:
- Create a new virtual account
- Search, filter, and access existing virtual accounts
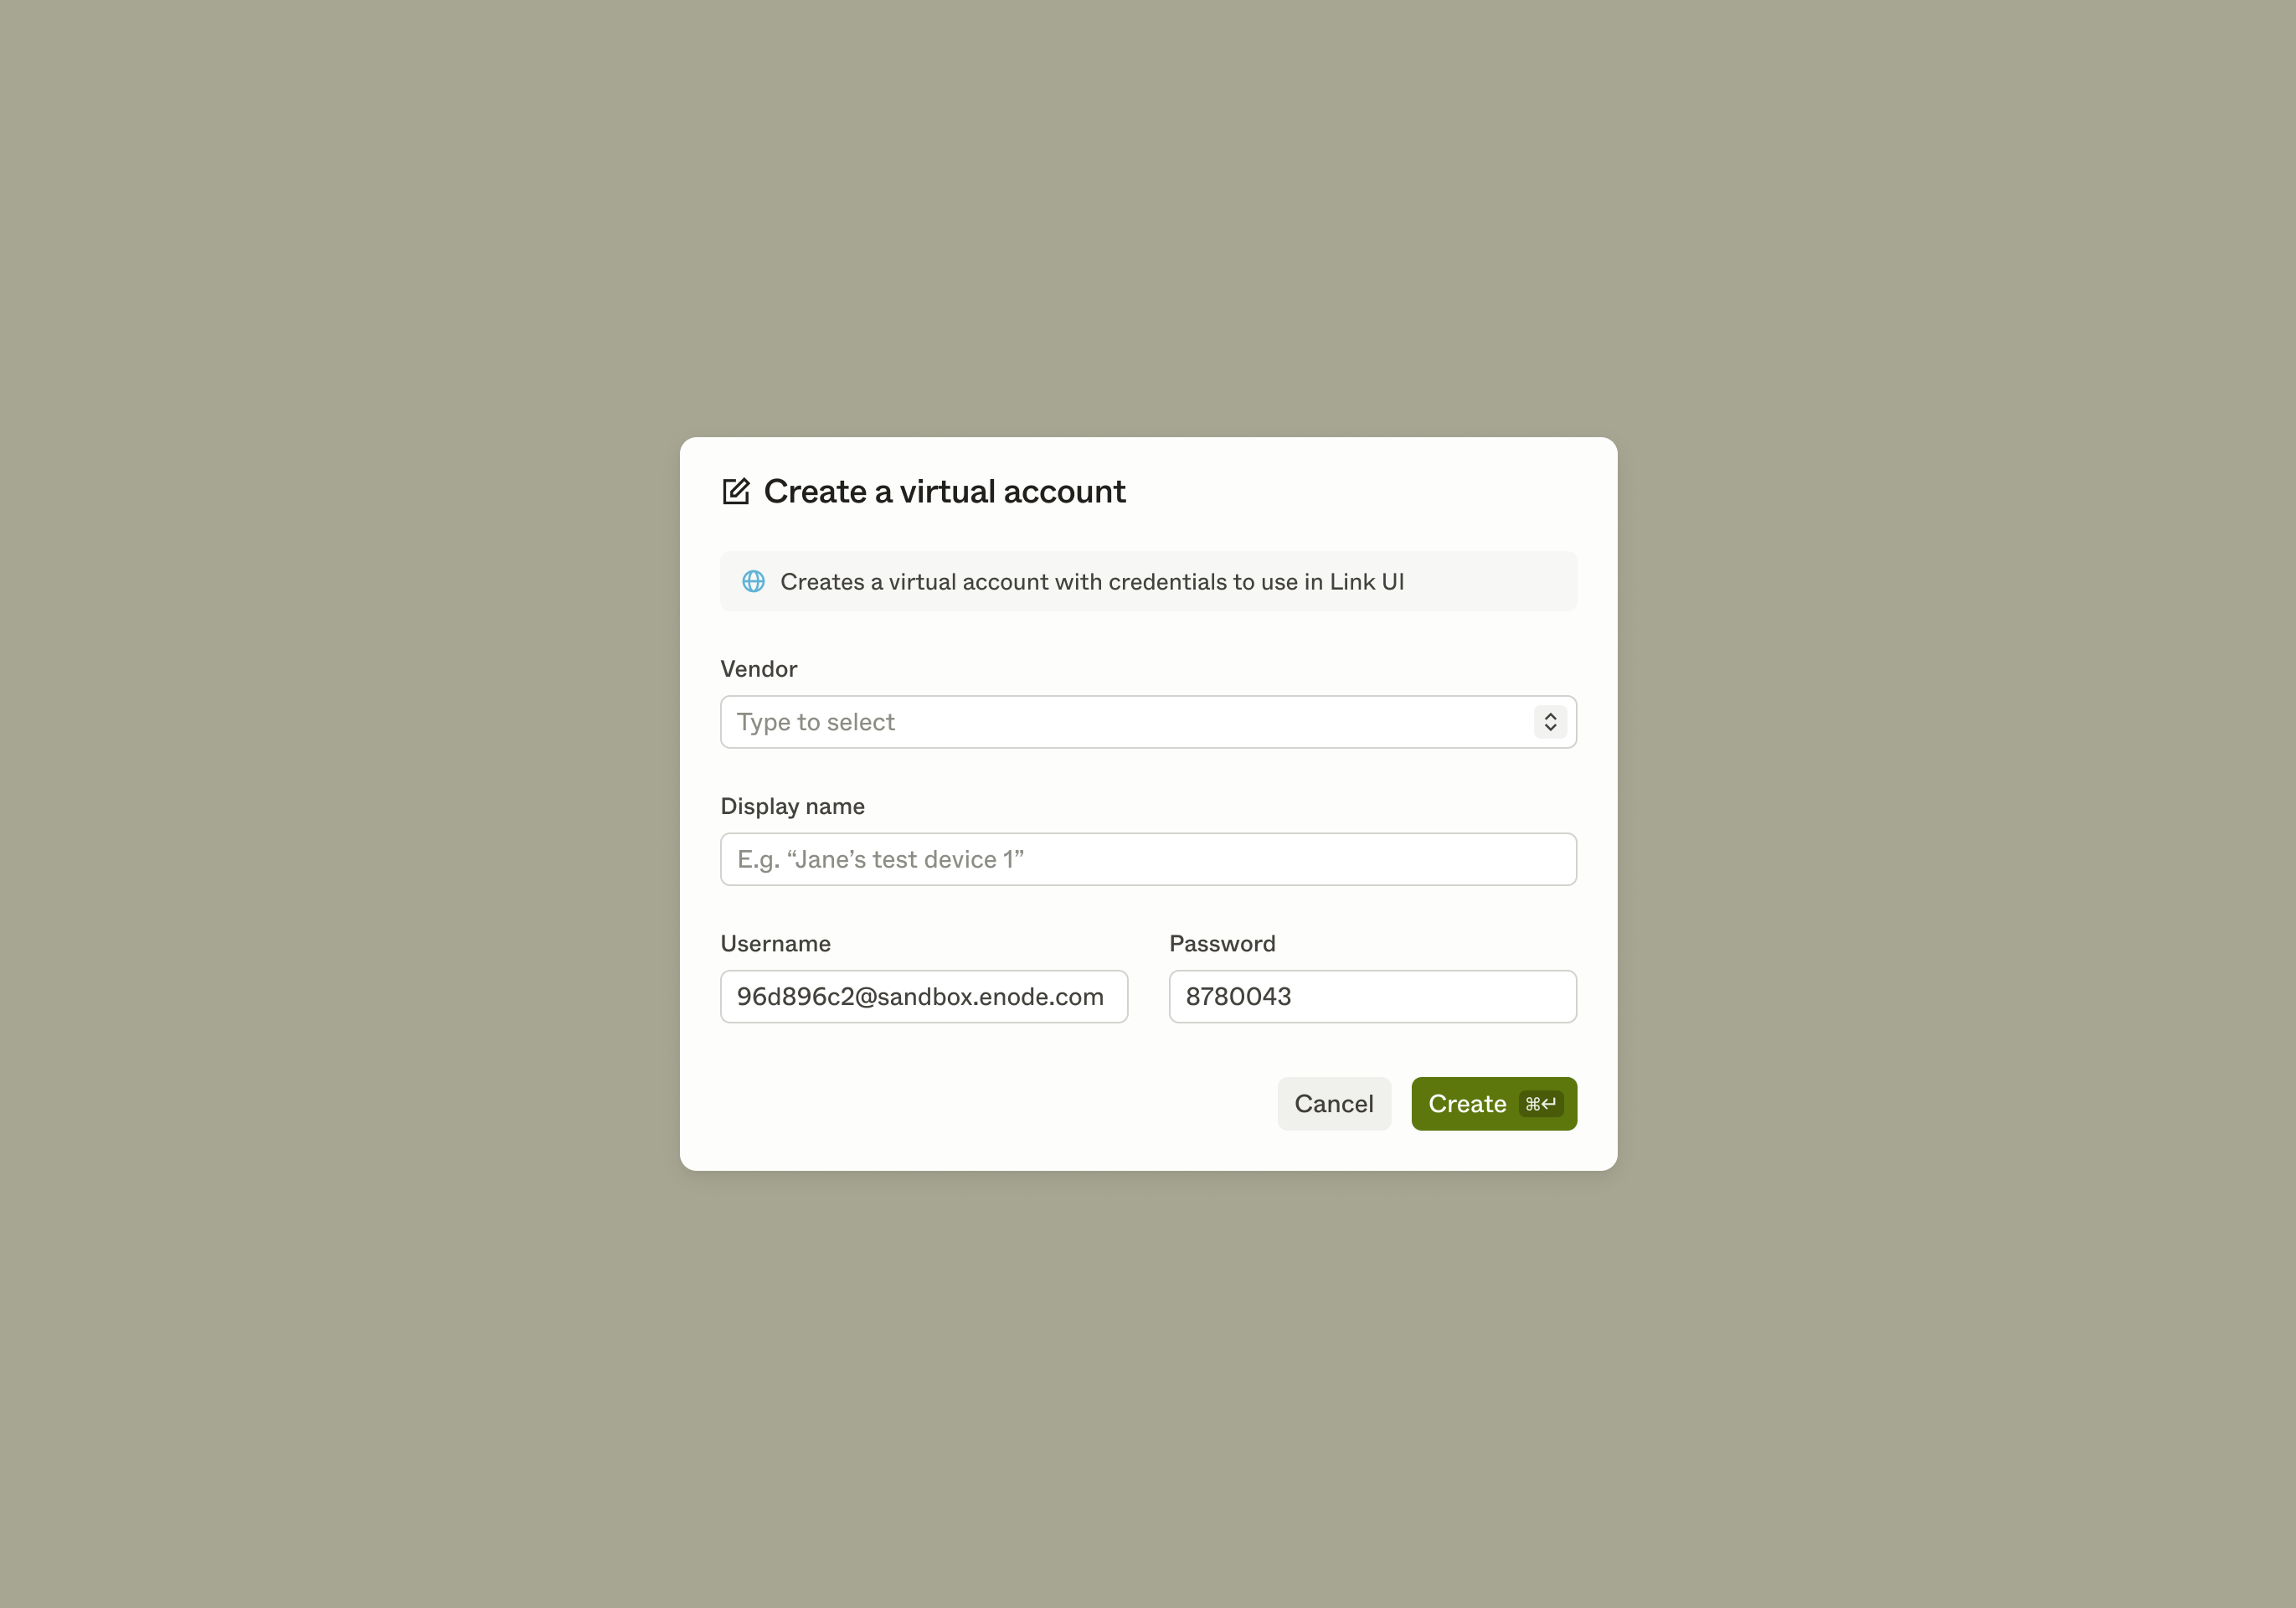
Copy linkCreating a new vendor account
- In the Virtual accounts view, click Create new
- Select the vendor
- Add a display name
- Click Create to finish
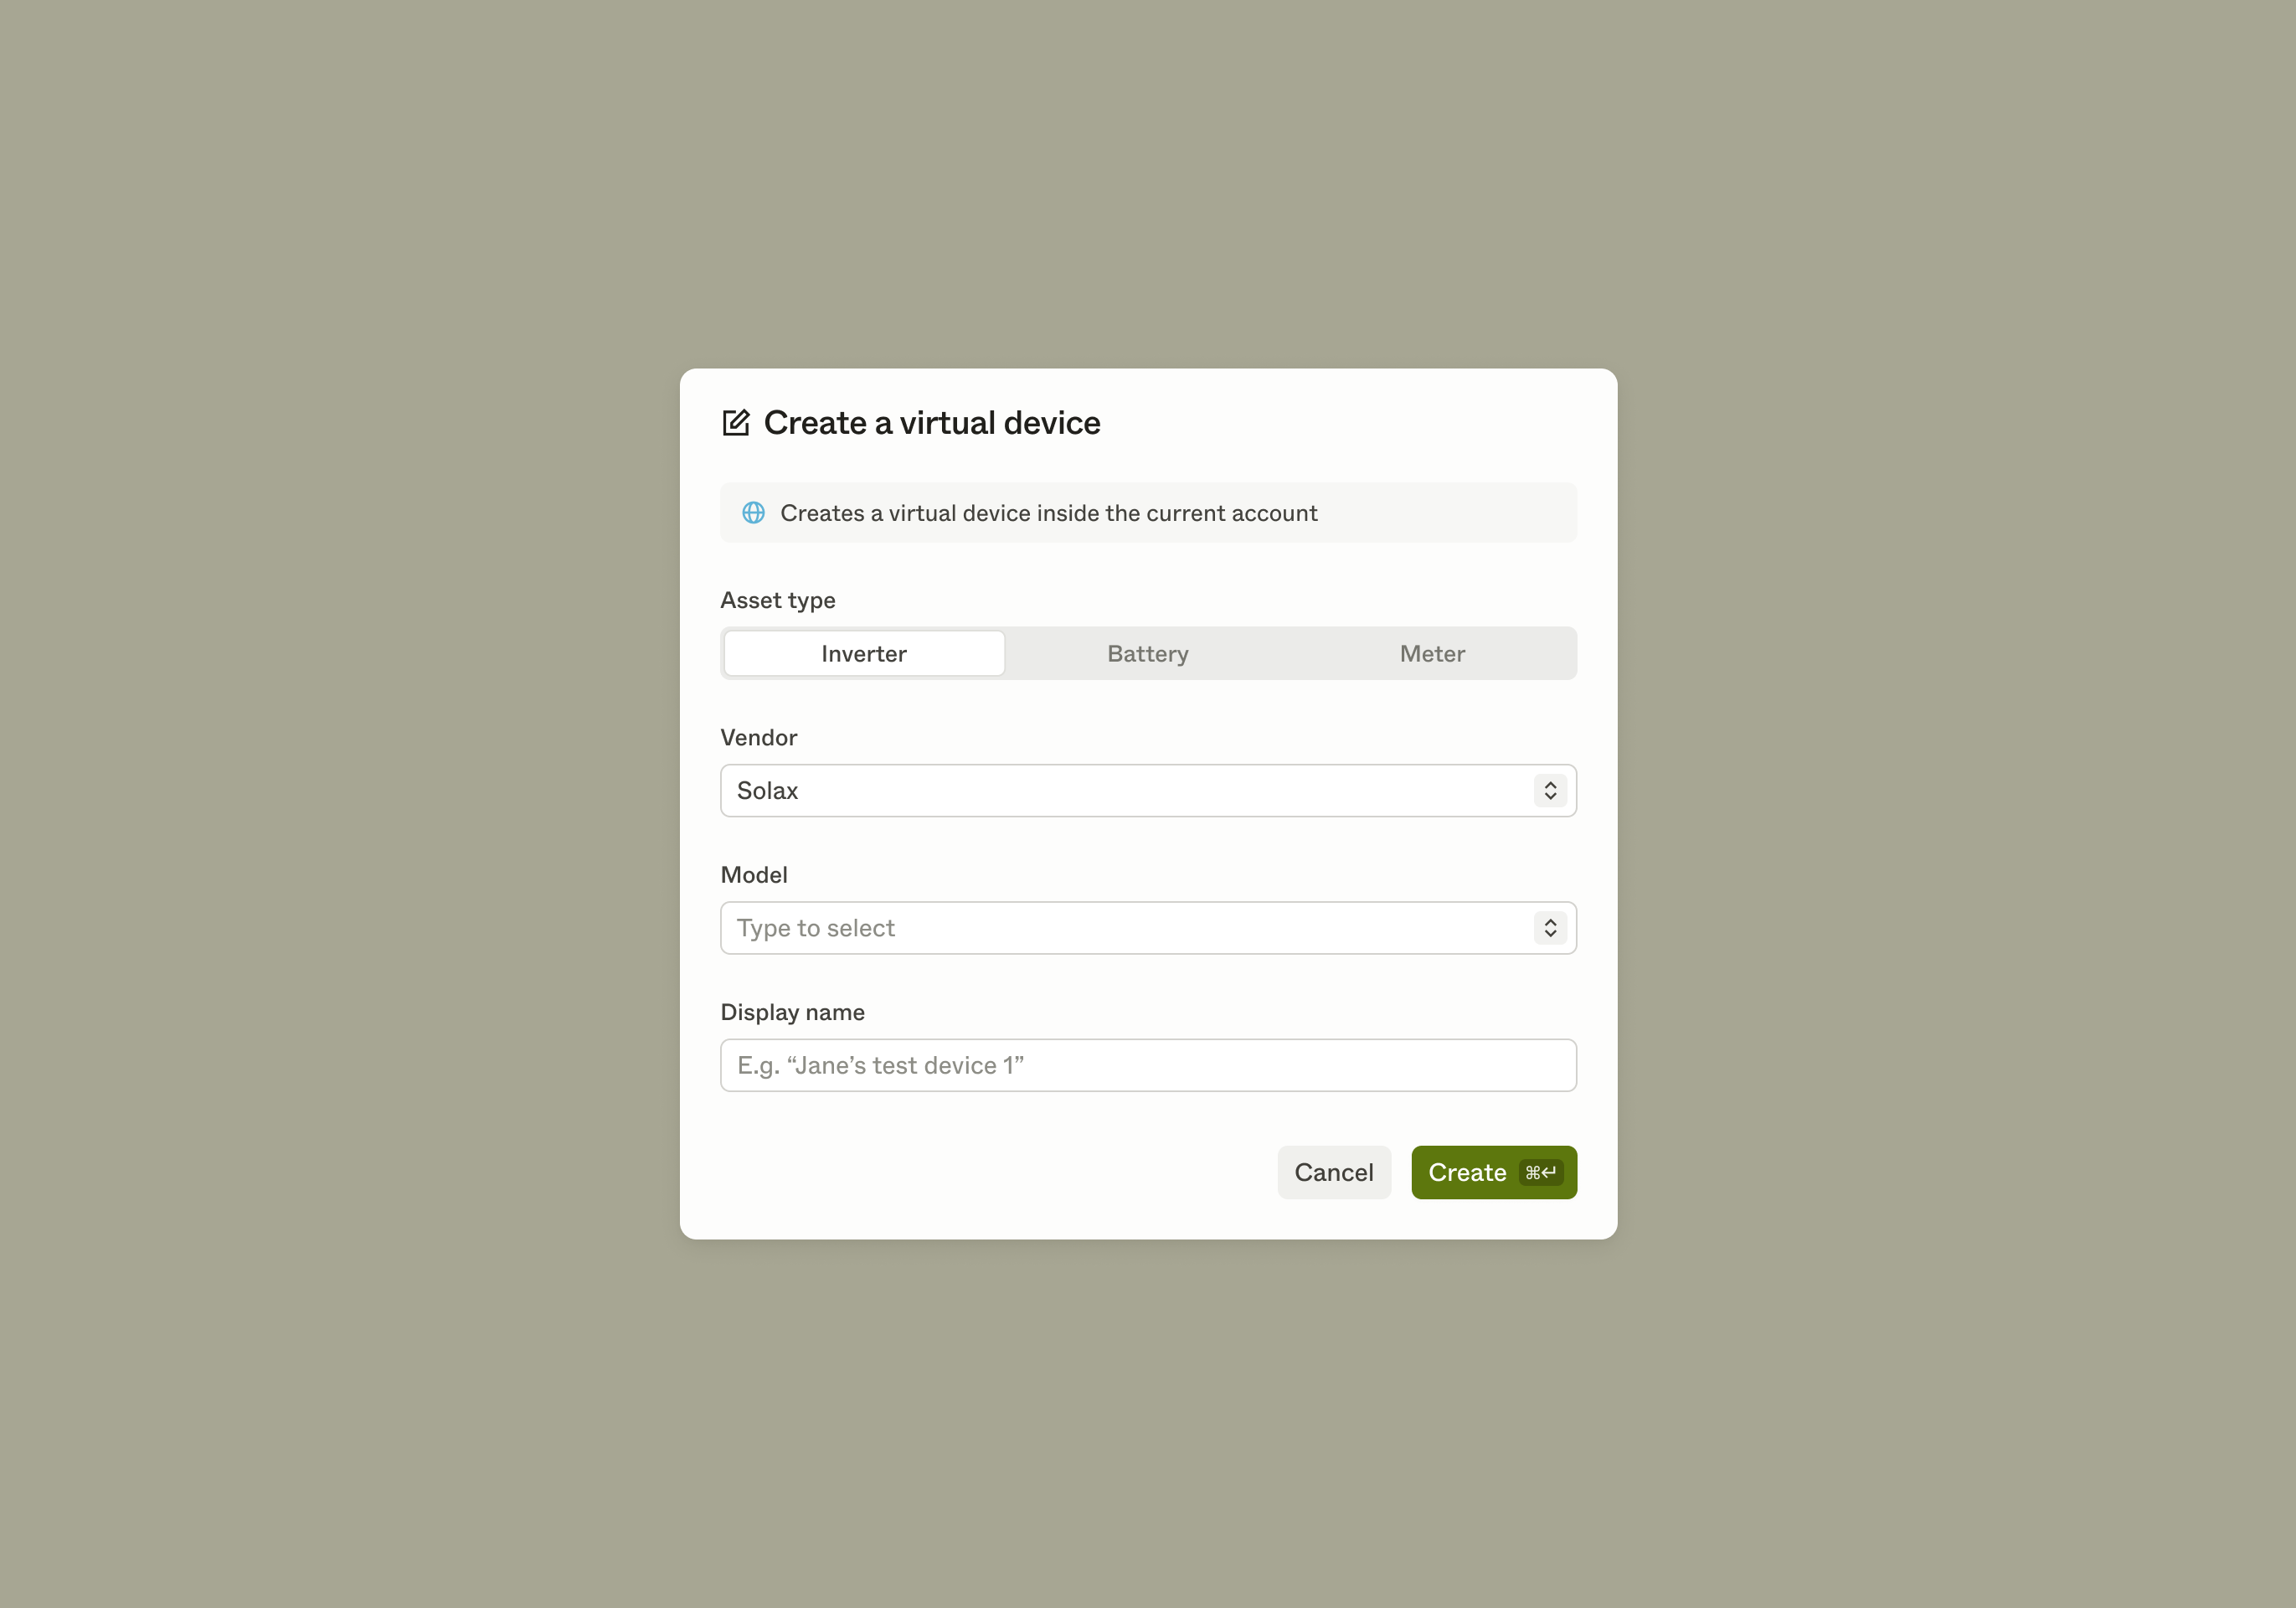
Copy linkAdding a device to a virtual account
- Select the virtual account you want to add a device to
- Under Virtual devices, click Create device
- If the vendor supports more than one asset type, select which type to add
- Choose the model, year and display name
- Click Create
If this is your first device, you can now link the virtual account to a user.
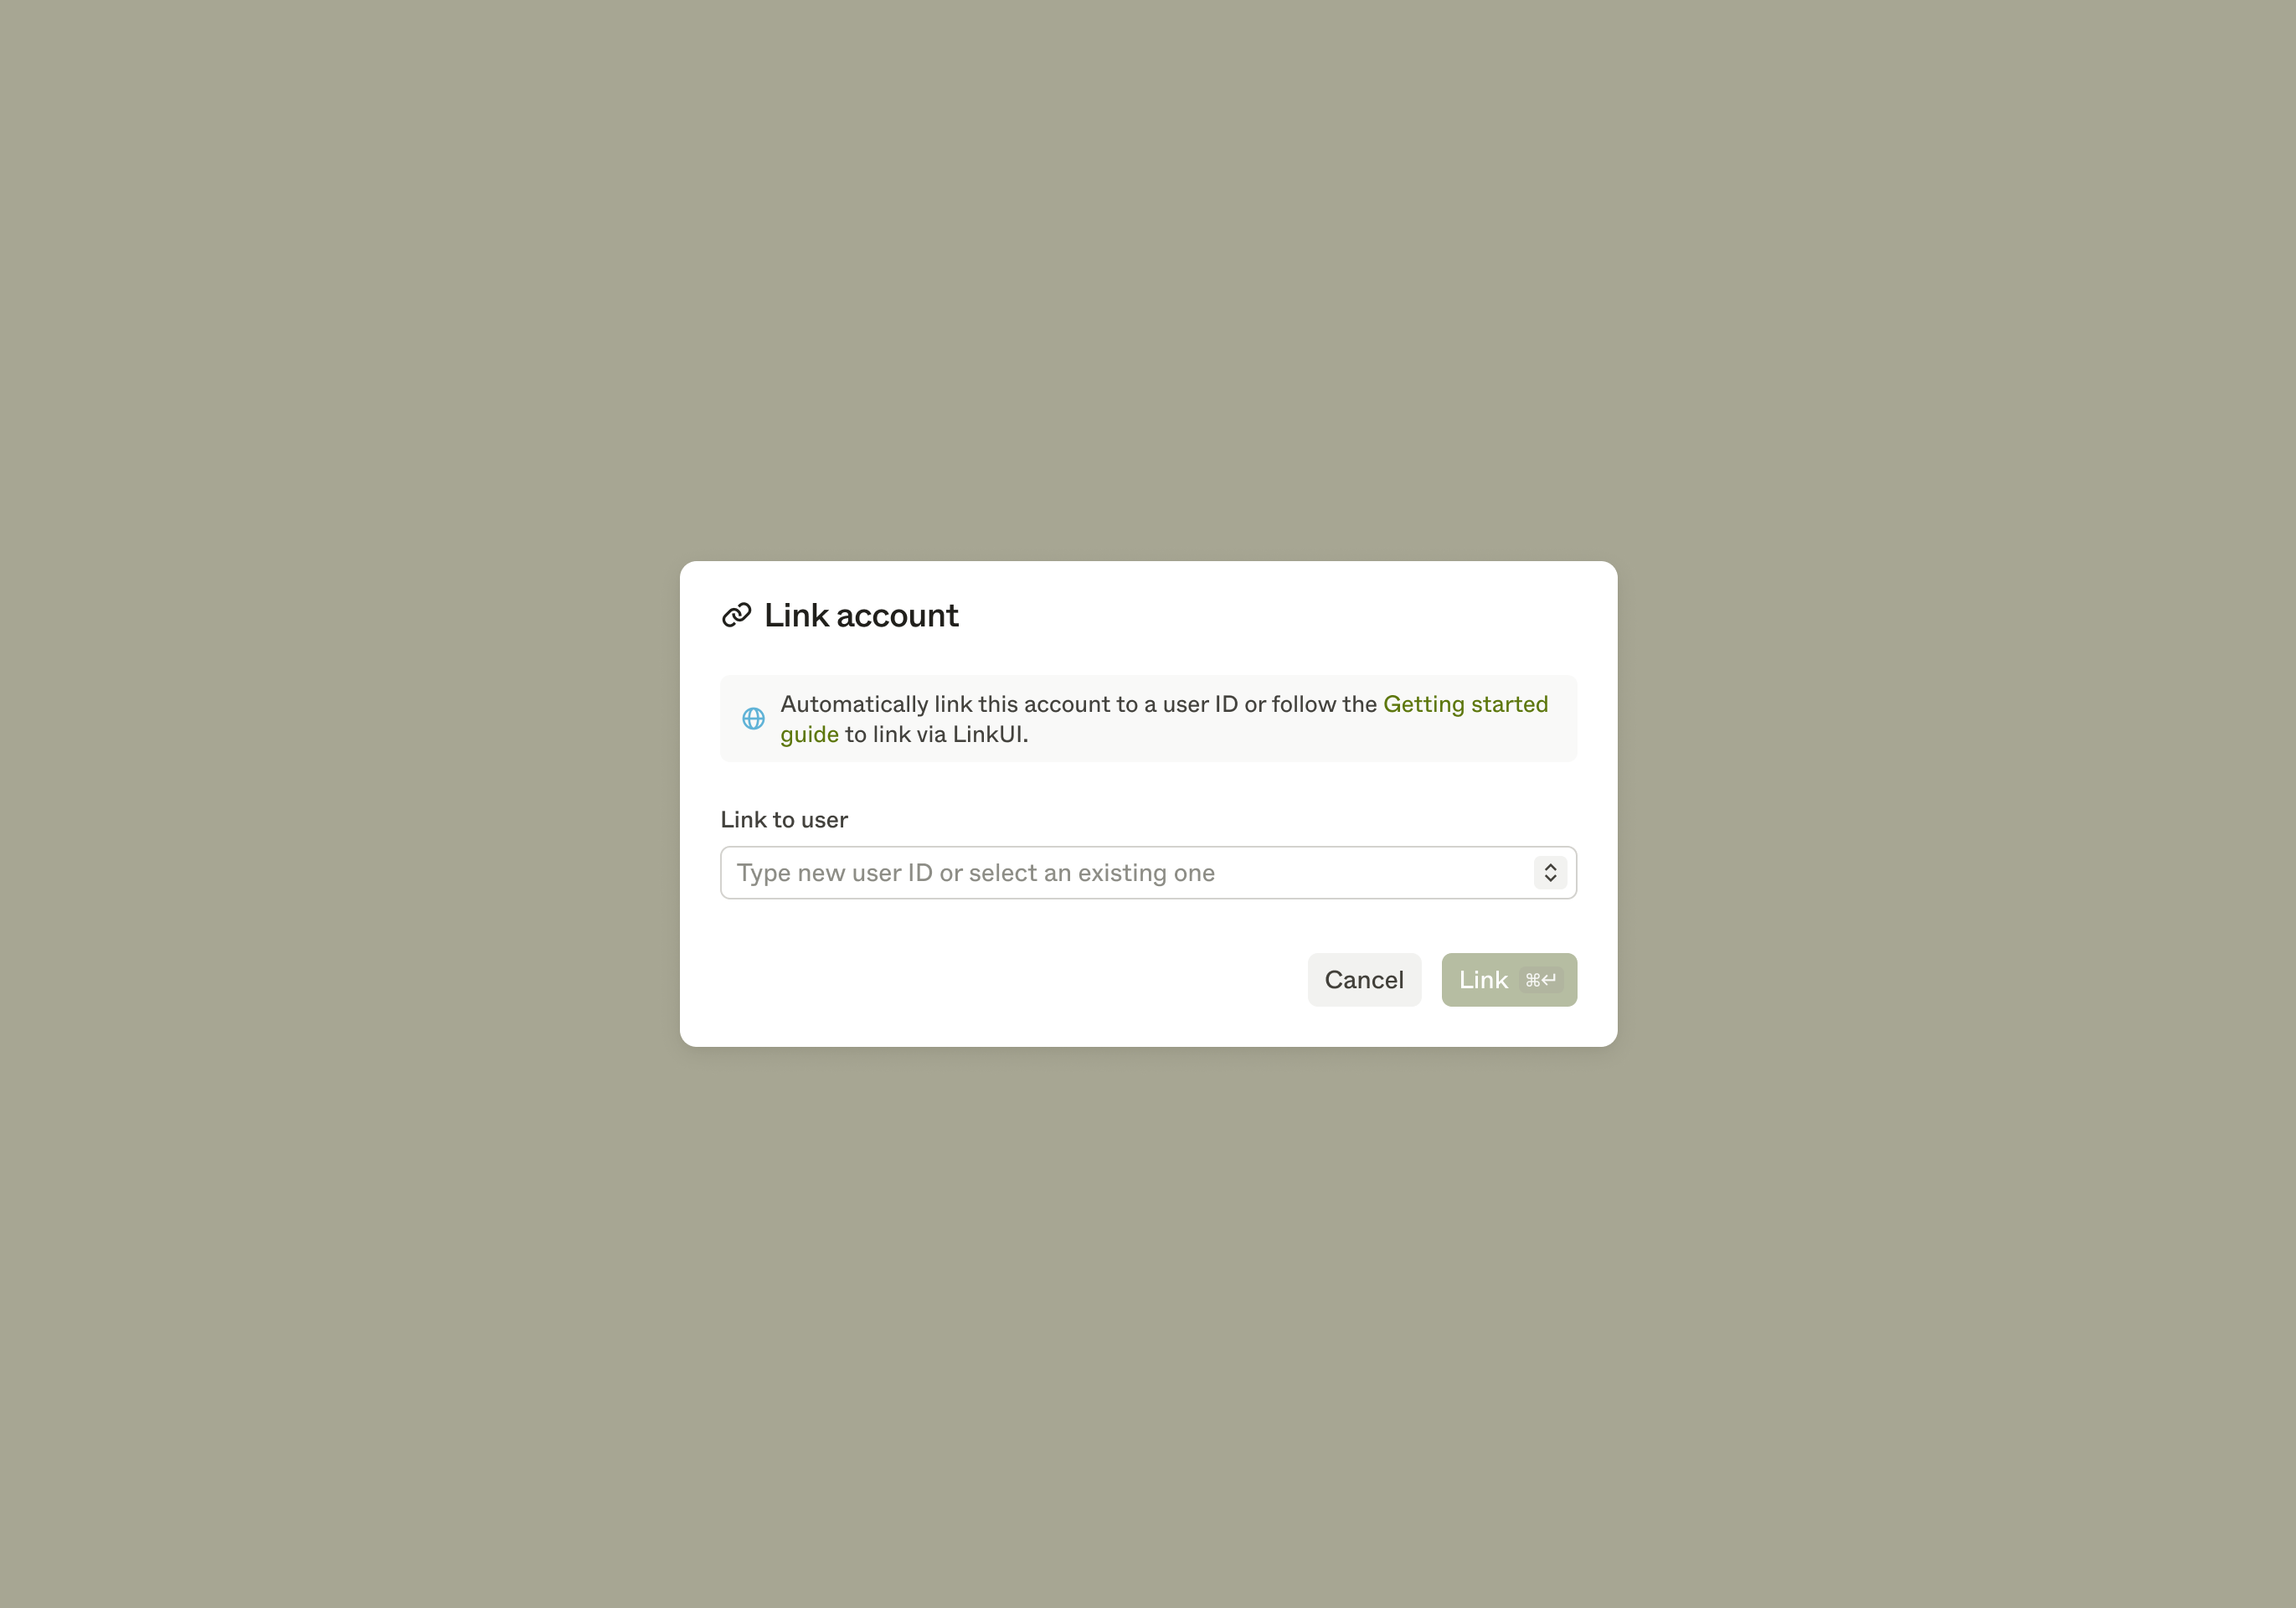
Copy linkLinking a virtual account to a user
You can link a virtual account to a user in two ways:
- Via LinkUI – Use this option to test the full linking flow
- Automatic linking – Use this to start working directly with the account’s assets
Linking via LinkUI
To link via Link UI:
- Open the virtual account
- Click Link
- Select an existing user ID or enter a new one
- Toggle Open Link UI
- Adjust scopes, language and color scheme if needed
- Click Open Link UI
This will redirect you to Link UI, which is the same experience your end-users will see, and redirect you back to the Virtual Accounts page when done.
Learn more about Link UI
Automatic linking
To link automatically:
- Open the virtual account
- Click Link
- Select an existing user ID or enter a new one
- Click Link
In both cases, the linked assets will appear in the asset overview.
Copy linkWorking with assets
Assets in Sandbox work the same way as assets in a production client. They represent individual devices. The difference is that in Sandbox, you have full control: you can create, view, edit, and monitor assets to simulate real-world behavior instantly.
Copy linkCreating a new asset
Assets are automatically created when you link a virtual account to a user.
If you want to test a single device or start experimenting quickly, you can also create a linked asset directly. Sandbox will automatically create a virtual account and user for you, or let you add the asset to an existing virtual account.
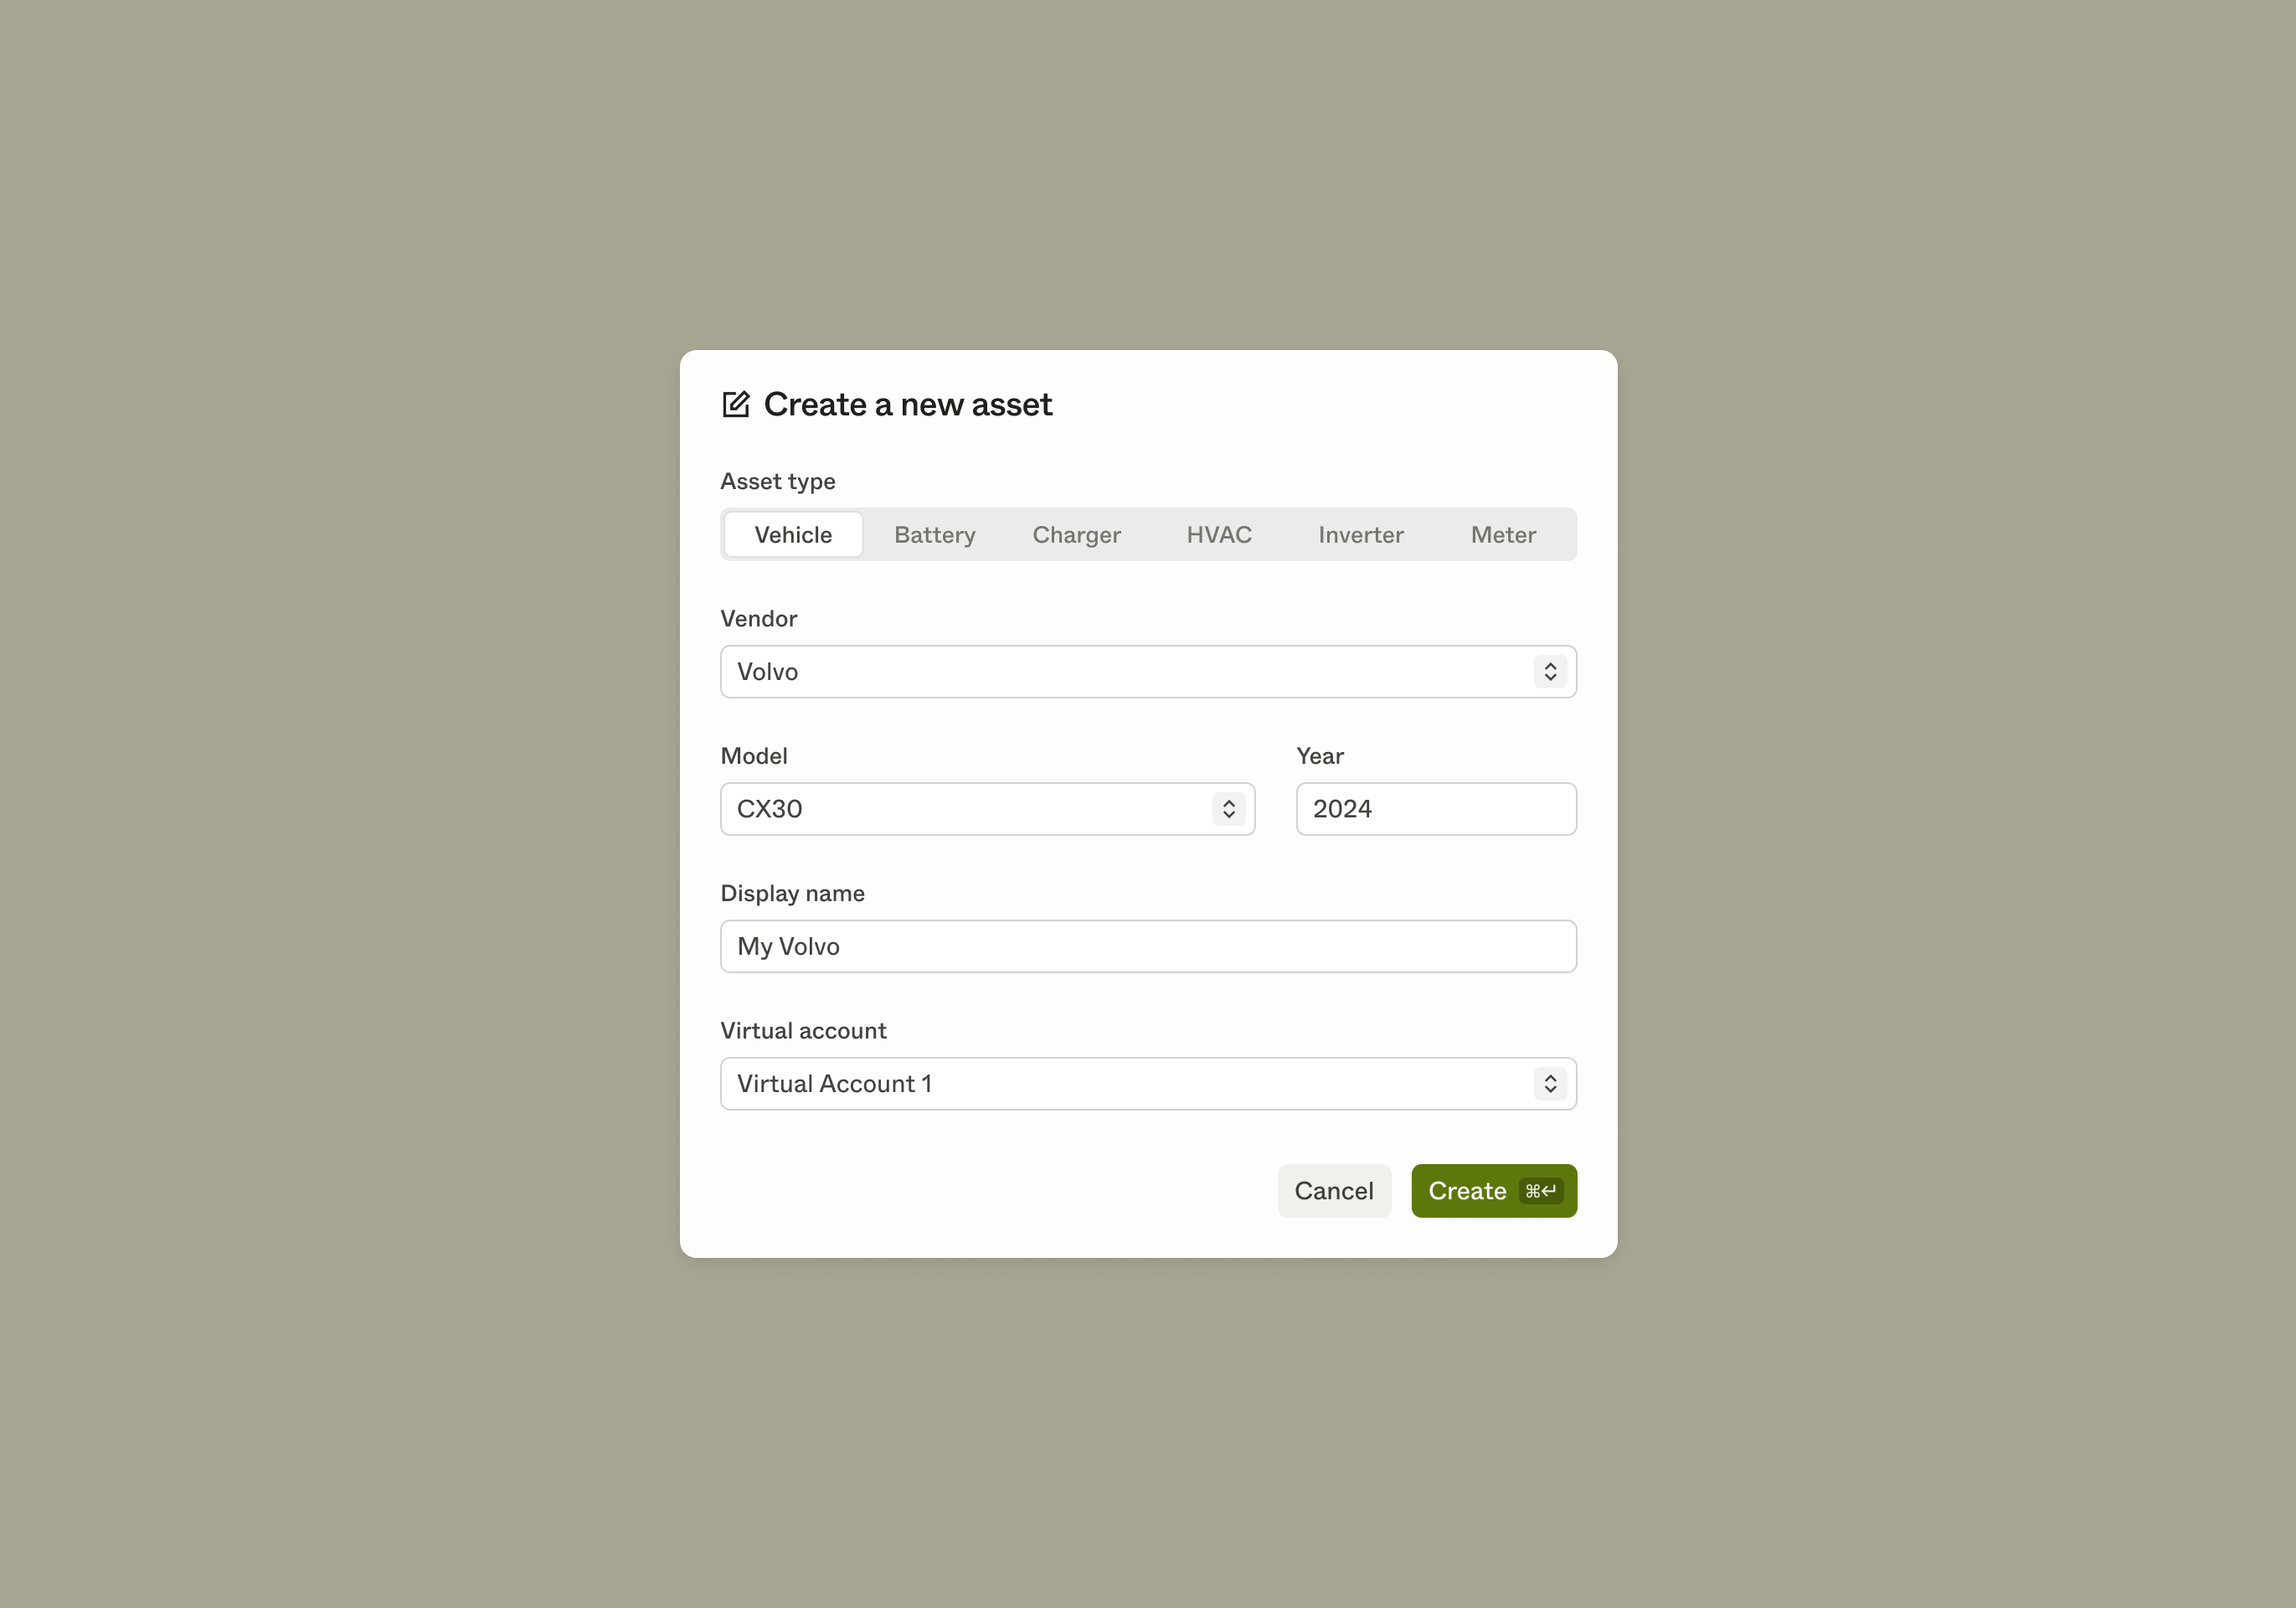
- In the Assets view, click Create new
- Select the asset type, vendor, and model
- Add a display name
- Choose an existing linked virtual account or create a new one
- Your new asset will appear in the asset overview
Copy linkManaging assets
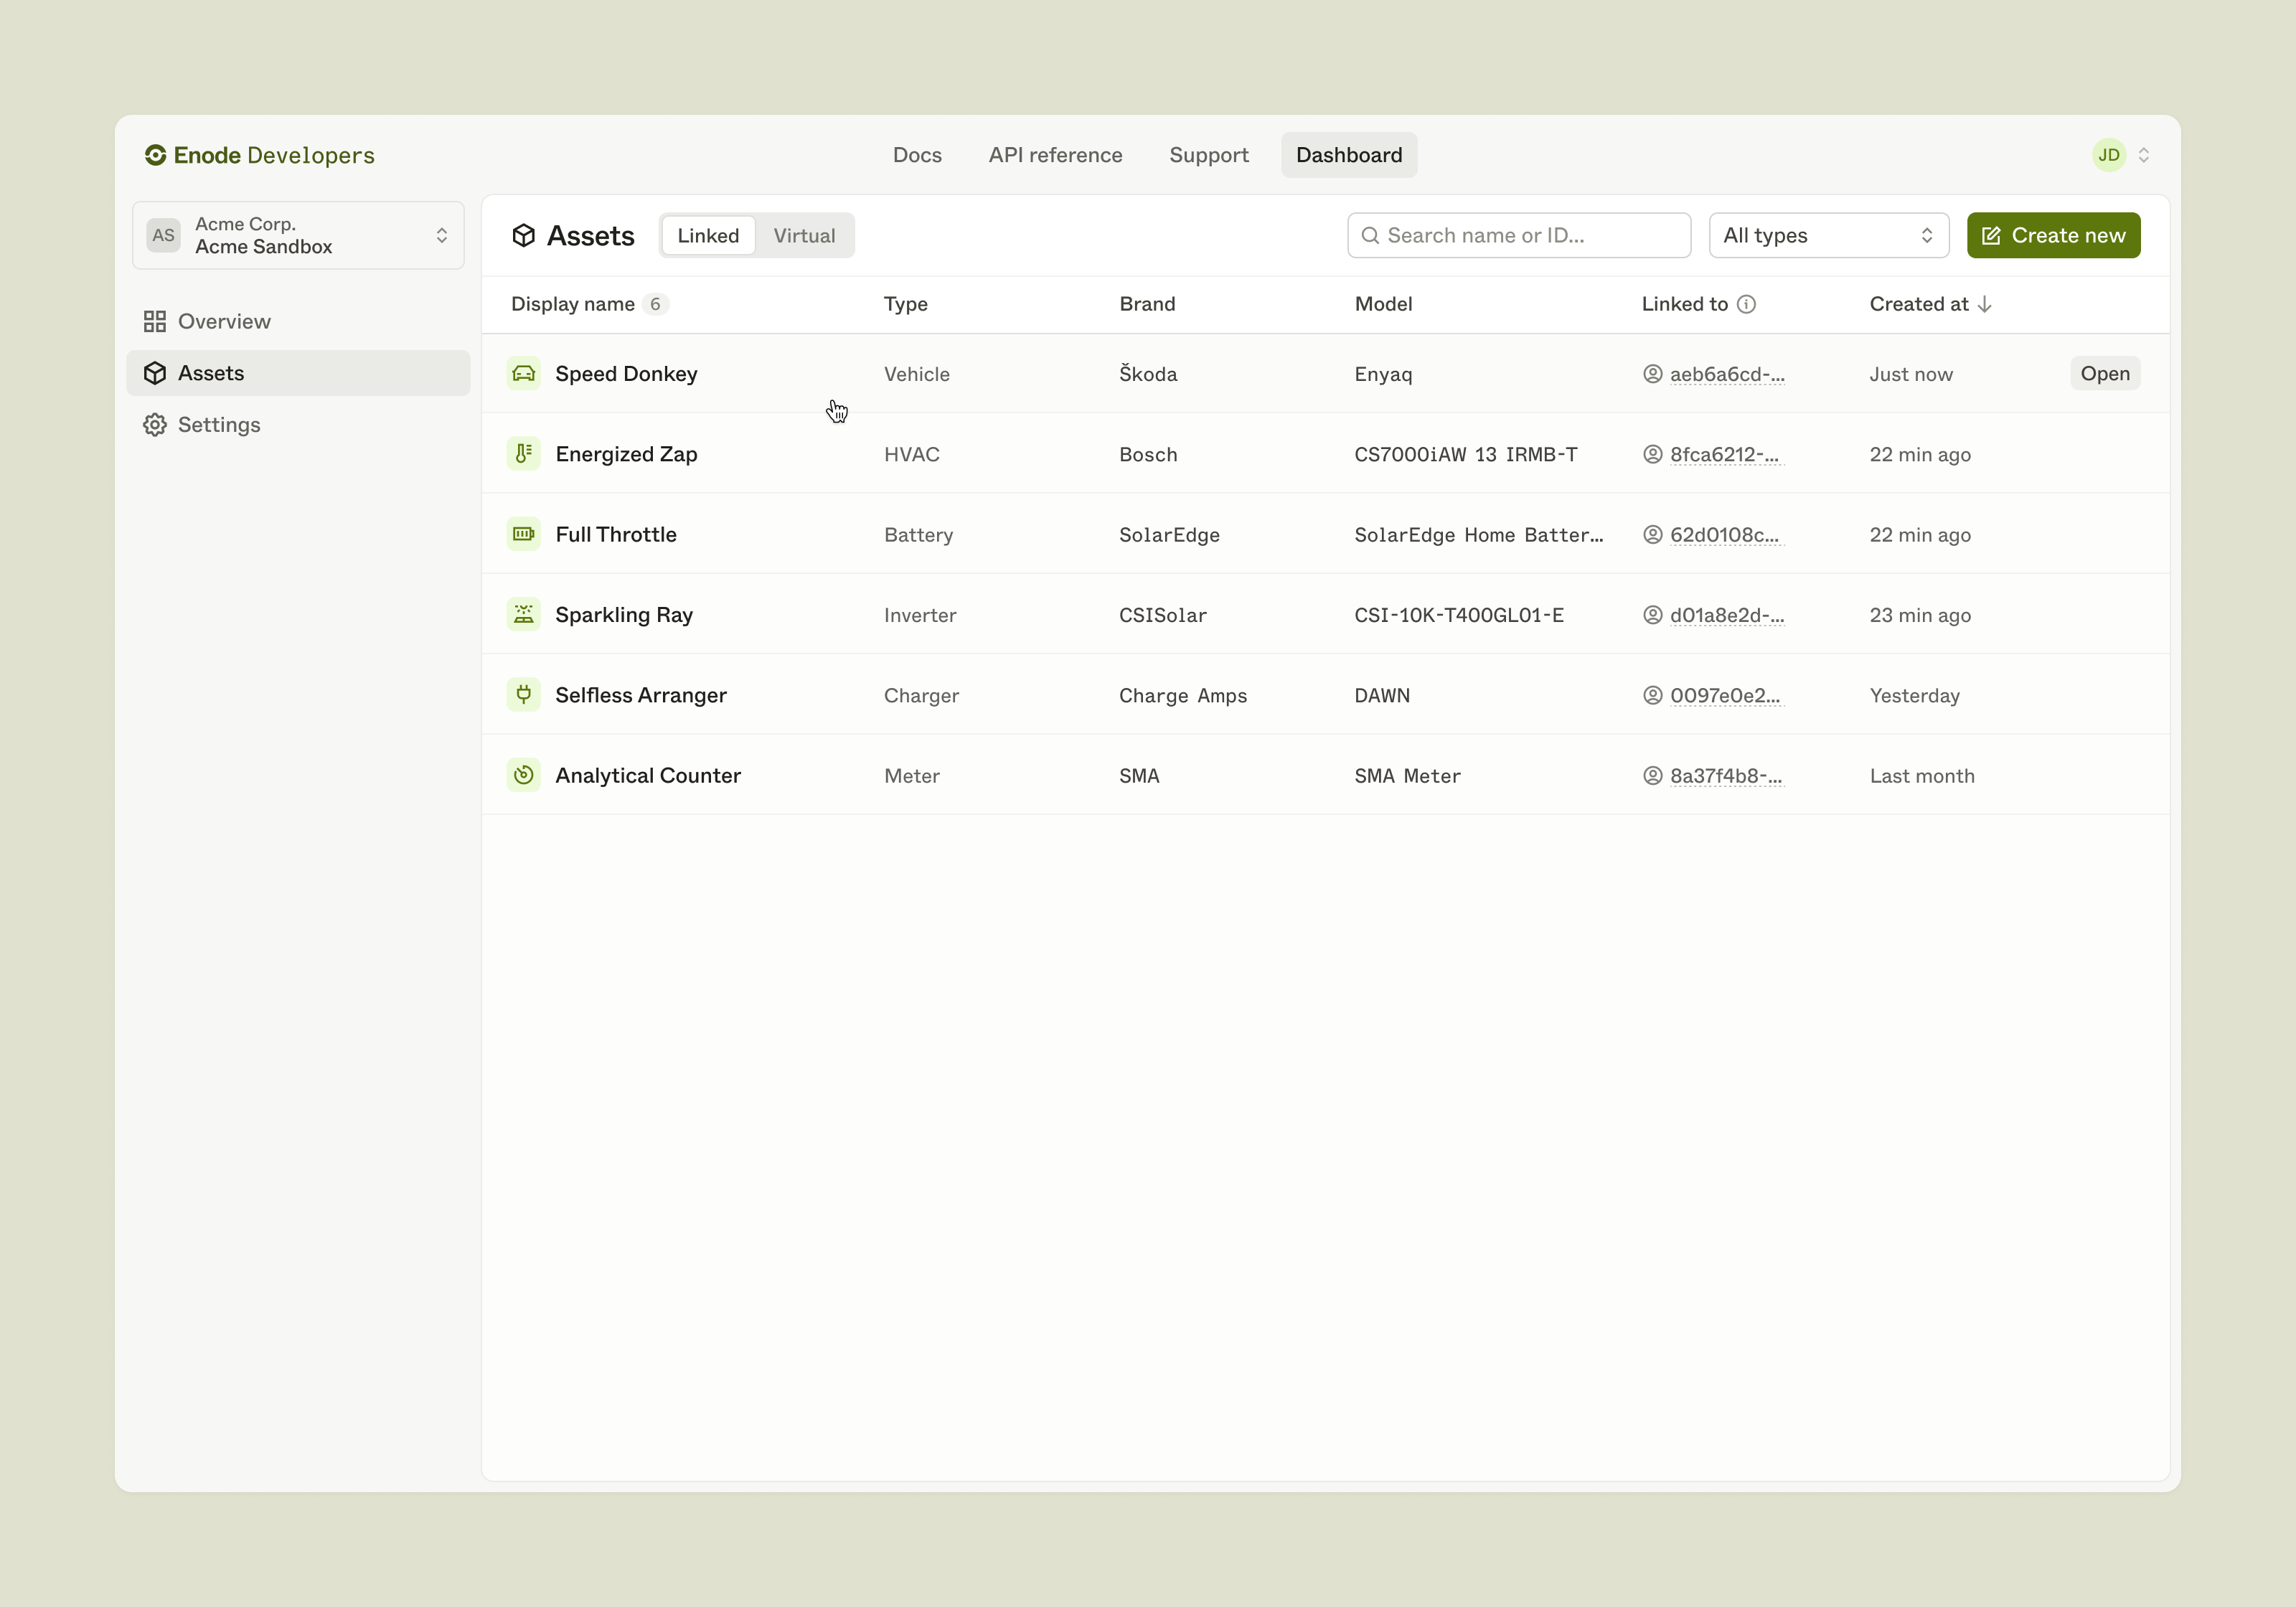
The asset overview shows all assets in your client. In Sandbox, you can also create new assets directly from this view. You can:
- Create new assets
- Filter by asset type, vendor, model, reachability, and more
- Search by name or ID
- Save filtered views for quick access
Selecting an asset opens the asset detail page where you can:
Copy linkWorking with an asset
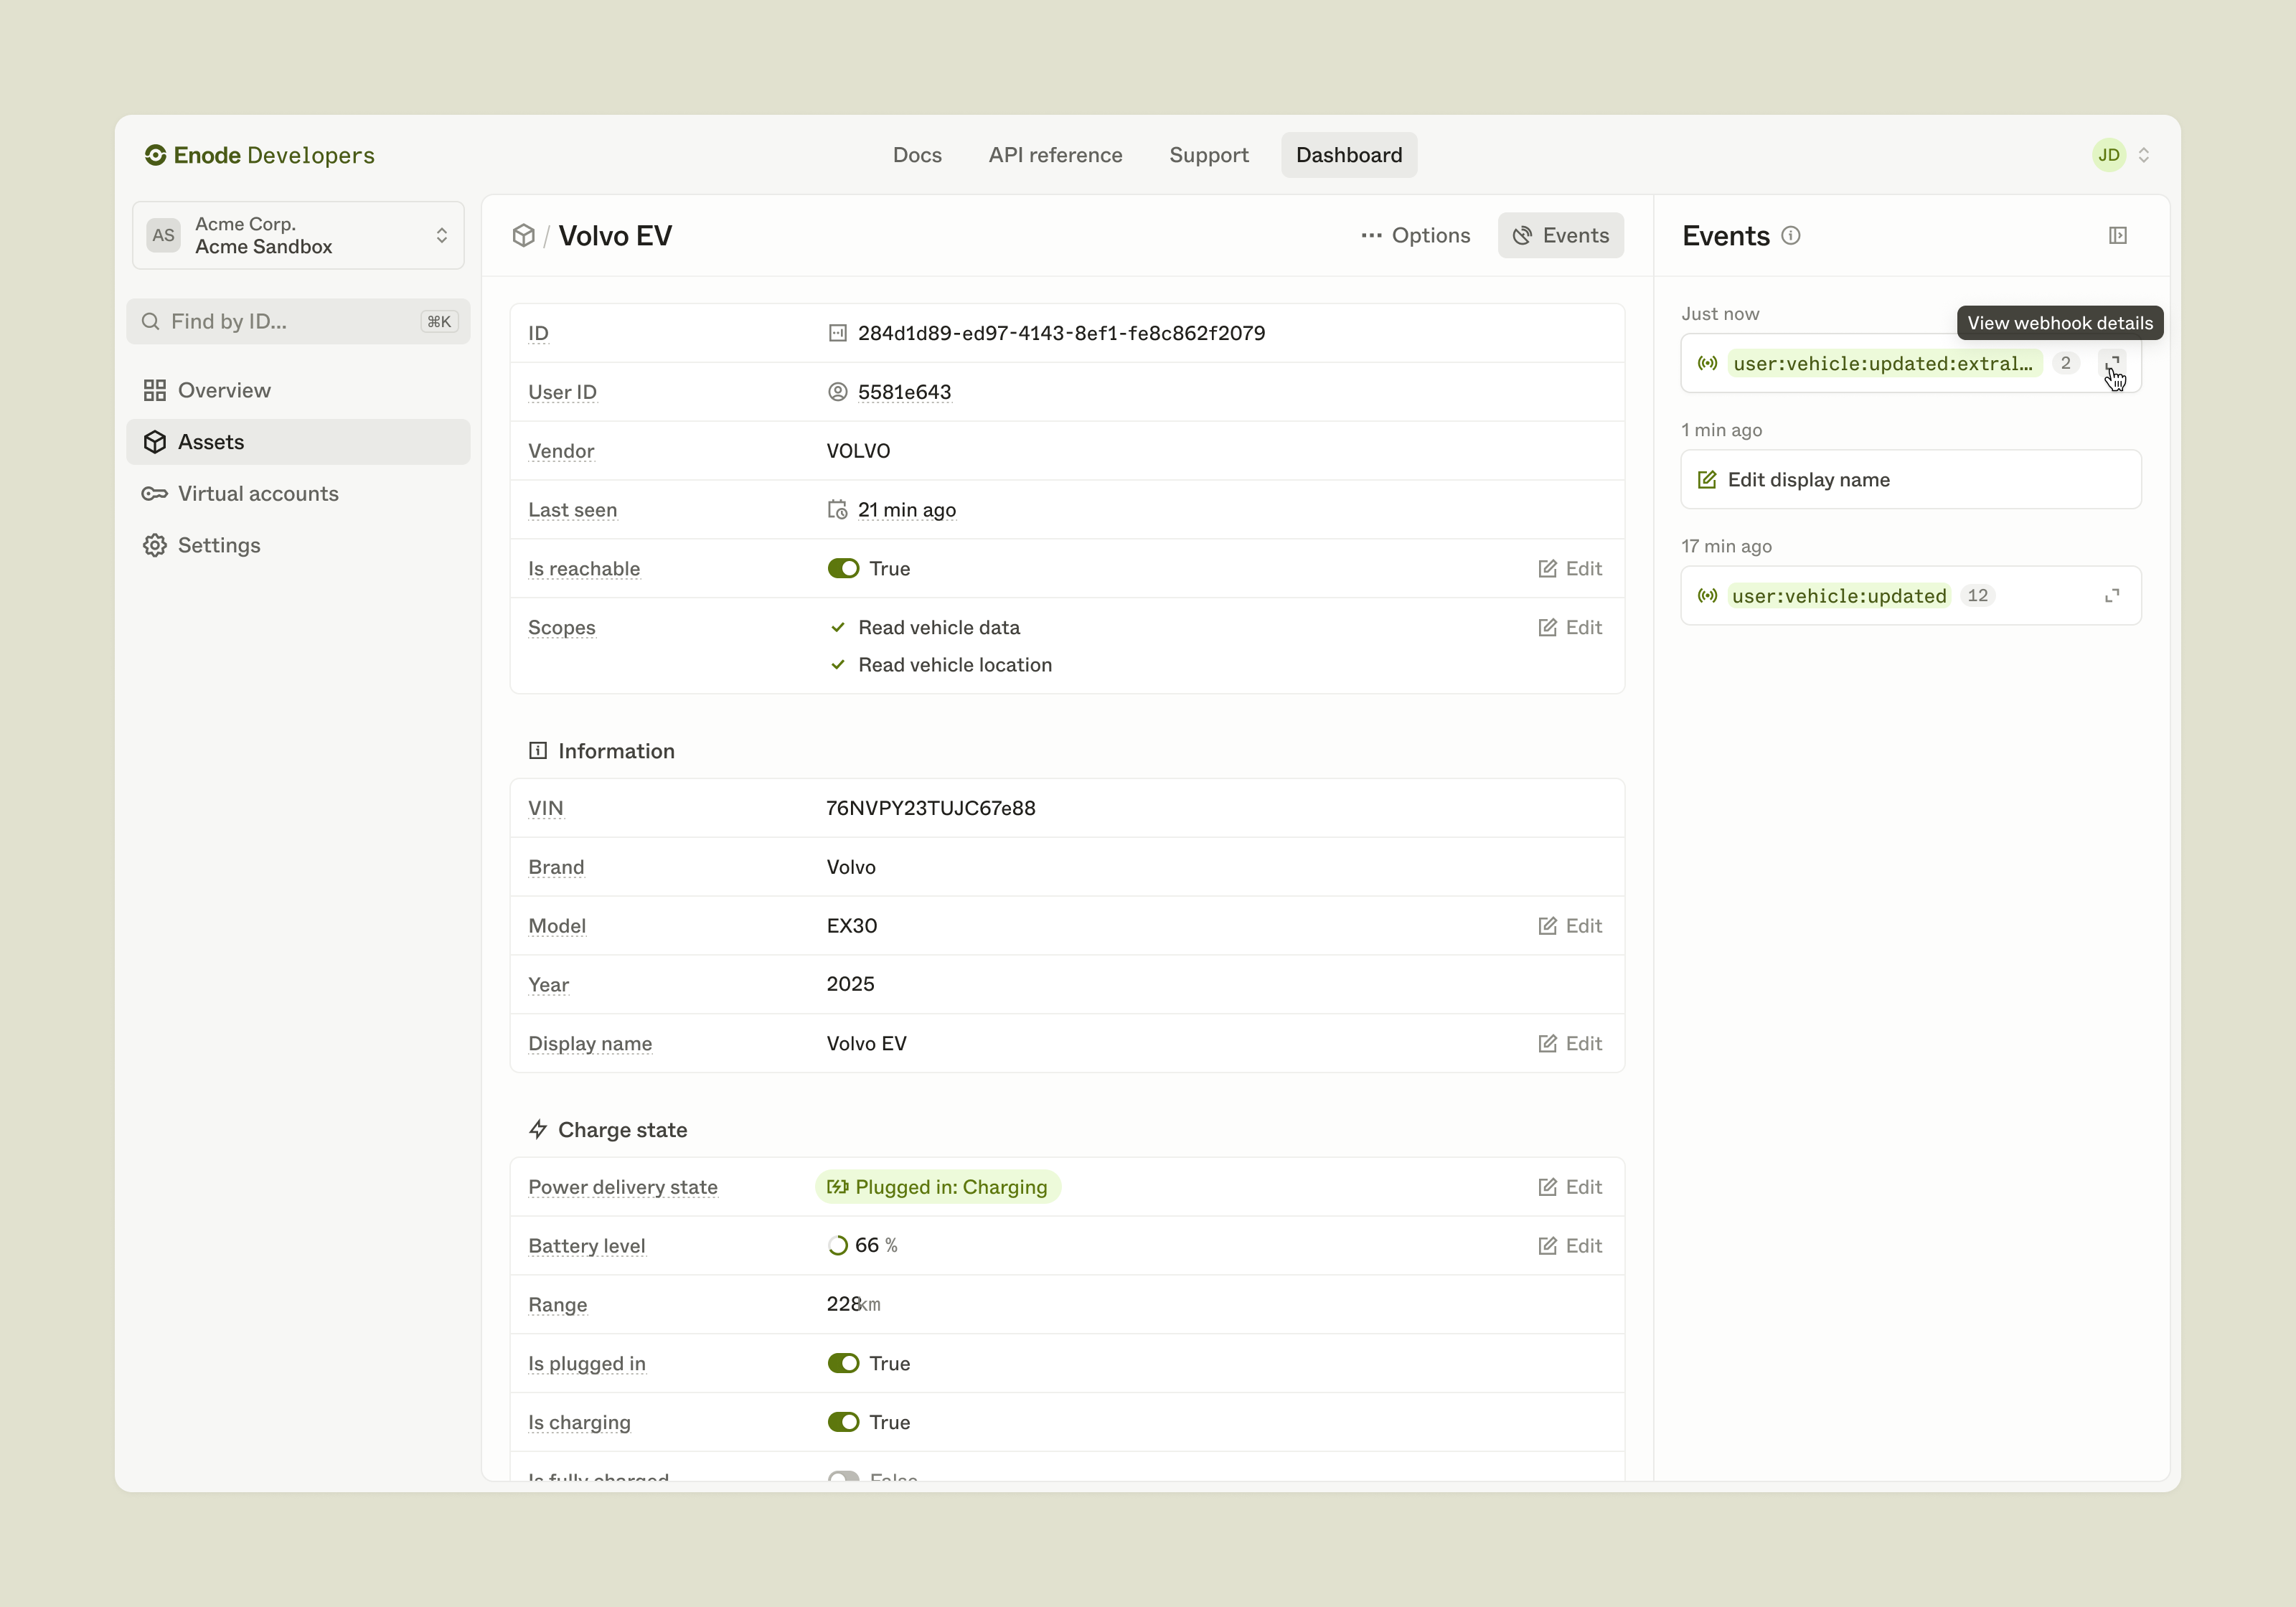
The asset detail page is your main workspace for testing and simulating device behavior.
In Sandbox, working with an asset means editing the state of its underlying virtual device to reflect real-world actions, for example plugging in a vehicle, charging a battery, or an inverter producing power. This lets you simulate both user actions and automatic device behavior directly in the UI.
Copy link1. Viewing the asset's state
The main section displays the asset’s state, which updates in real time when:
- You edit the state
- A colleague updates the same asset
- The API triggers a change
Copy link2. Editing the asset's state
To edit an asset's state:
- Click Edit next to a field
- Update the value and review the preview of the resulting state
- Confirm the change
Most fields trigger automatic side effects.
For example, changing a vehicle’s powerDeliveryState from PLUGGED_IN:CHARGING to PLUGGED_IN:COMPLETE automatically sets isCharging to false.
Each field also includes a description that explains how it behaves in real life and what events typically cause it to change.
Copy link3. Monitoring events
The asset detail page in Sandbox automatically listens for webhook updates.
Any changes to the asset state, whether made by you, a teammate working on the same asset, or through the API, are received in real time and immediately reflected in the UI.
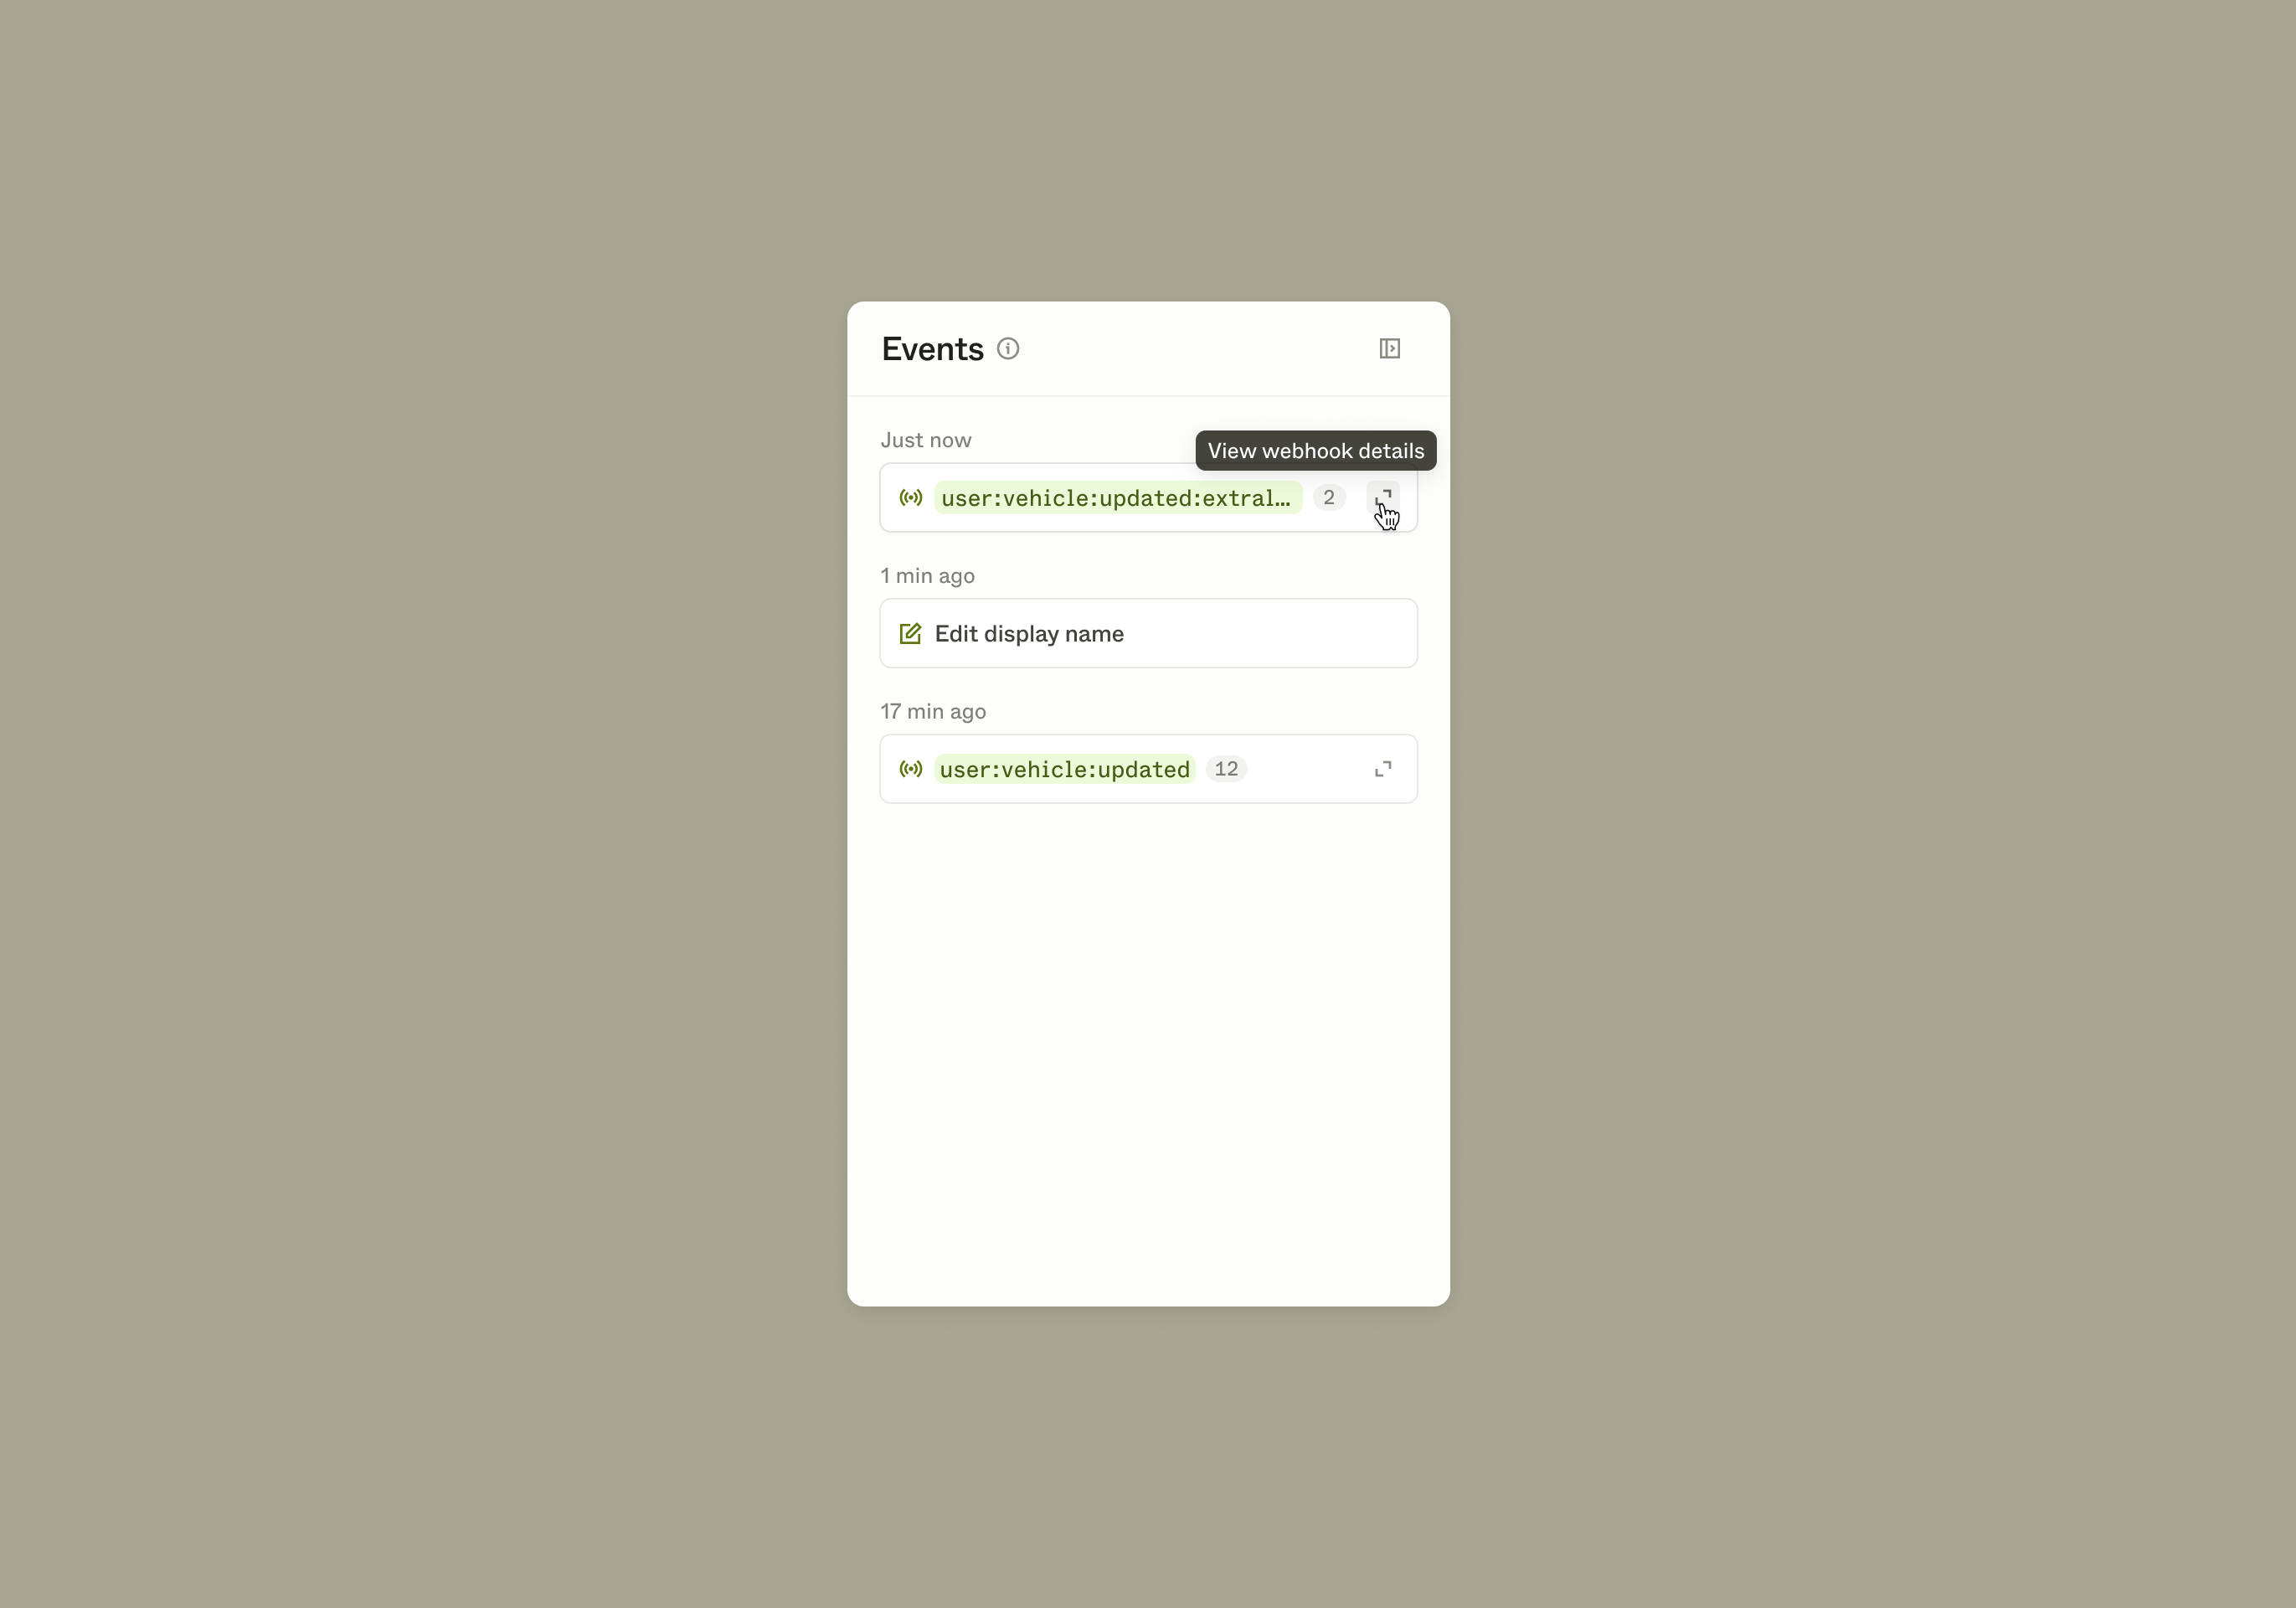
The Events Feed provides detailed information about the updates received for the asset:
- Webhooks reflecting state changes.
- A record of state changes performed on the asset via the Sandbox UI.
This ensures you can associate every modification with its associated webhook.
By clicking on one of the webhooks in the feed you will have access to:
- A summary of all the fields that have updated
- The raw JSON body of the webhook
Copy linkTesting Actions
When you create an action in the API, Enode will attempt to execute that action on the device until it succeeds, fails (times out), or is cancelled.
In the real world, an action succeeds when the physical asset transitions to the desired state.
In Sandbox, you must manually change the virtual asset’s state to the desired outcome to simulate a successful action. This also allows you to test failure scenarios by letting the action time out or setting the asset to an unintended state.
For more details on different test cases, refer to our Sandbox testing guide.
Investigate linked assets, test your application, and resolve customer issues faster.